Getting sound effects to sit right in a mix is the single biggest difference between a video that sounds amateur and one that sounds polished. Here is exactly how to do it.
Follow these four steps in order and your SFX will sit cleanly in any mix.
Step 01
Set up separate tracks for every audio type
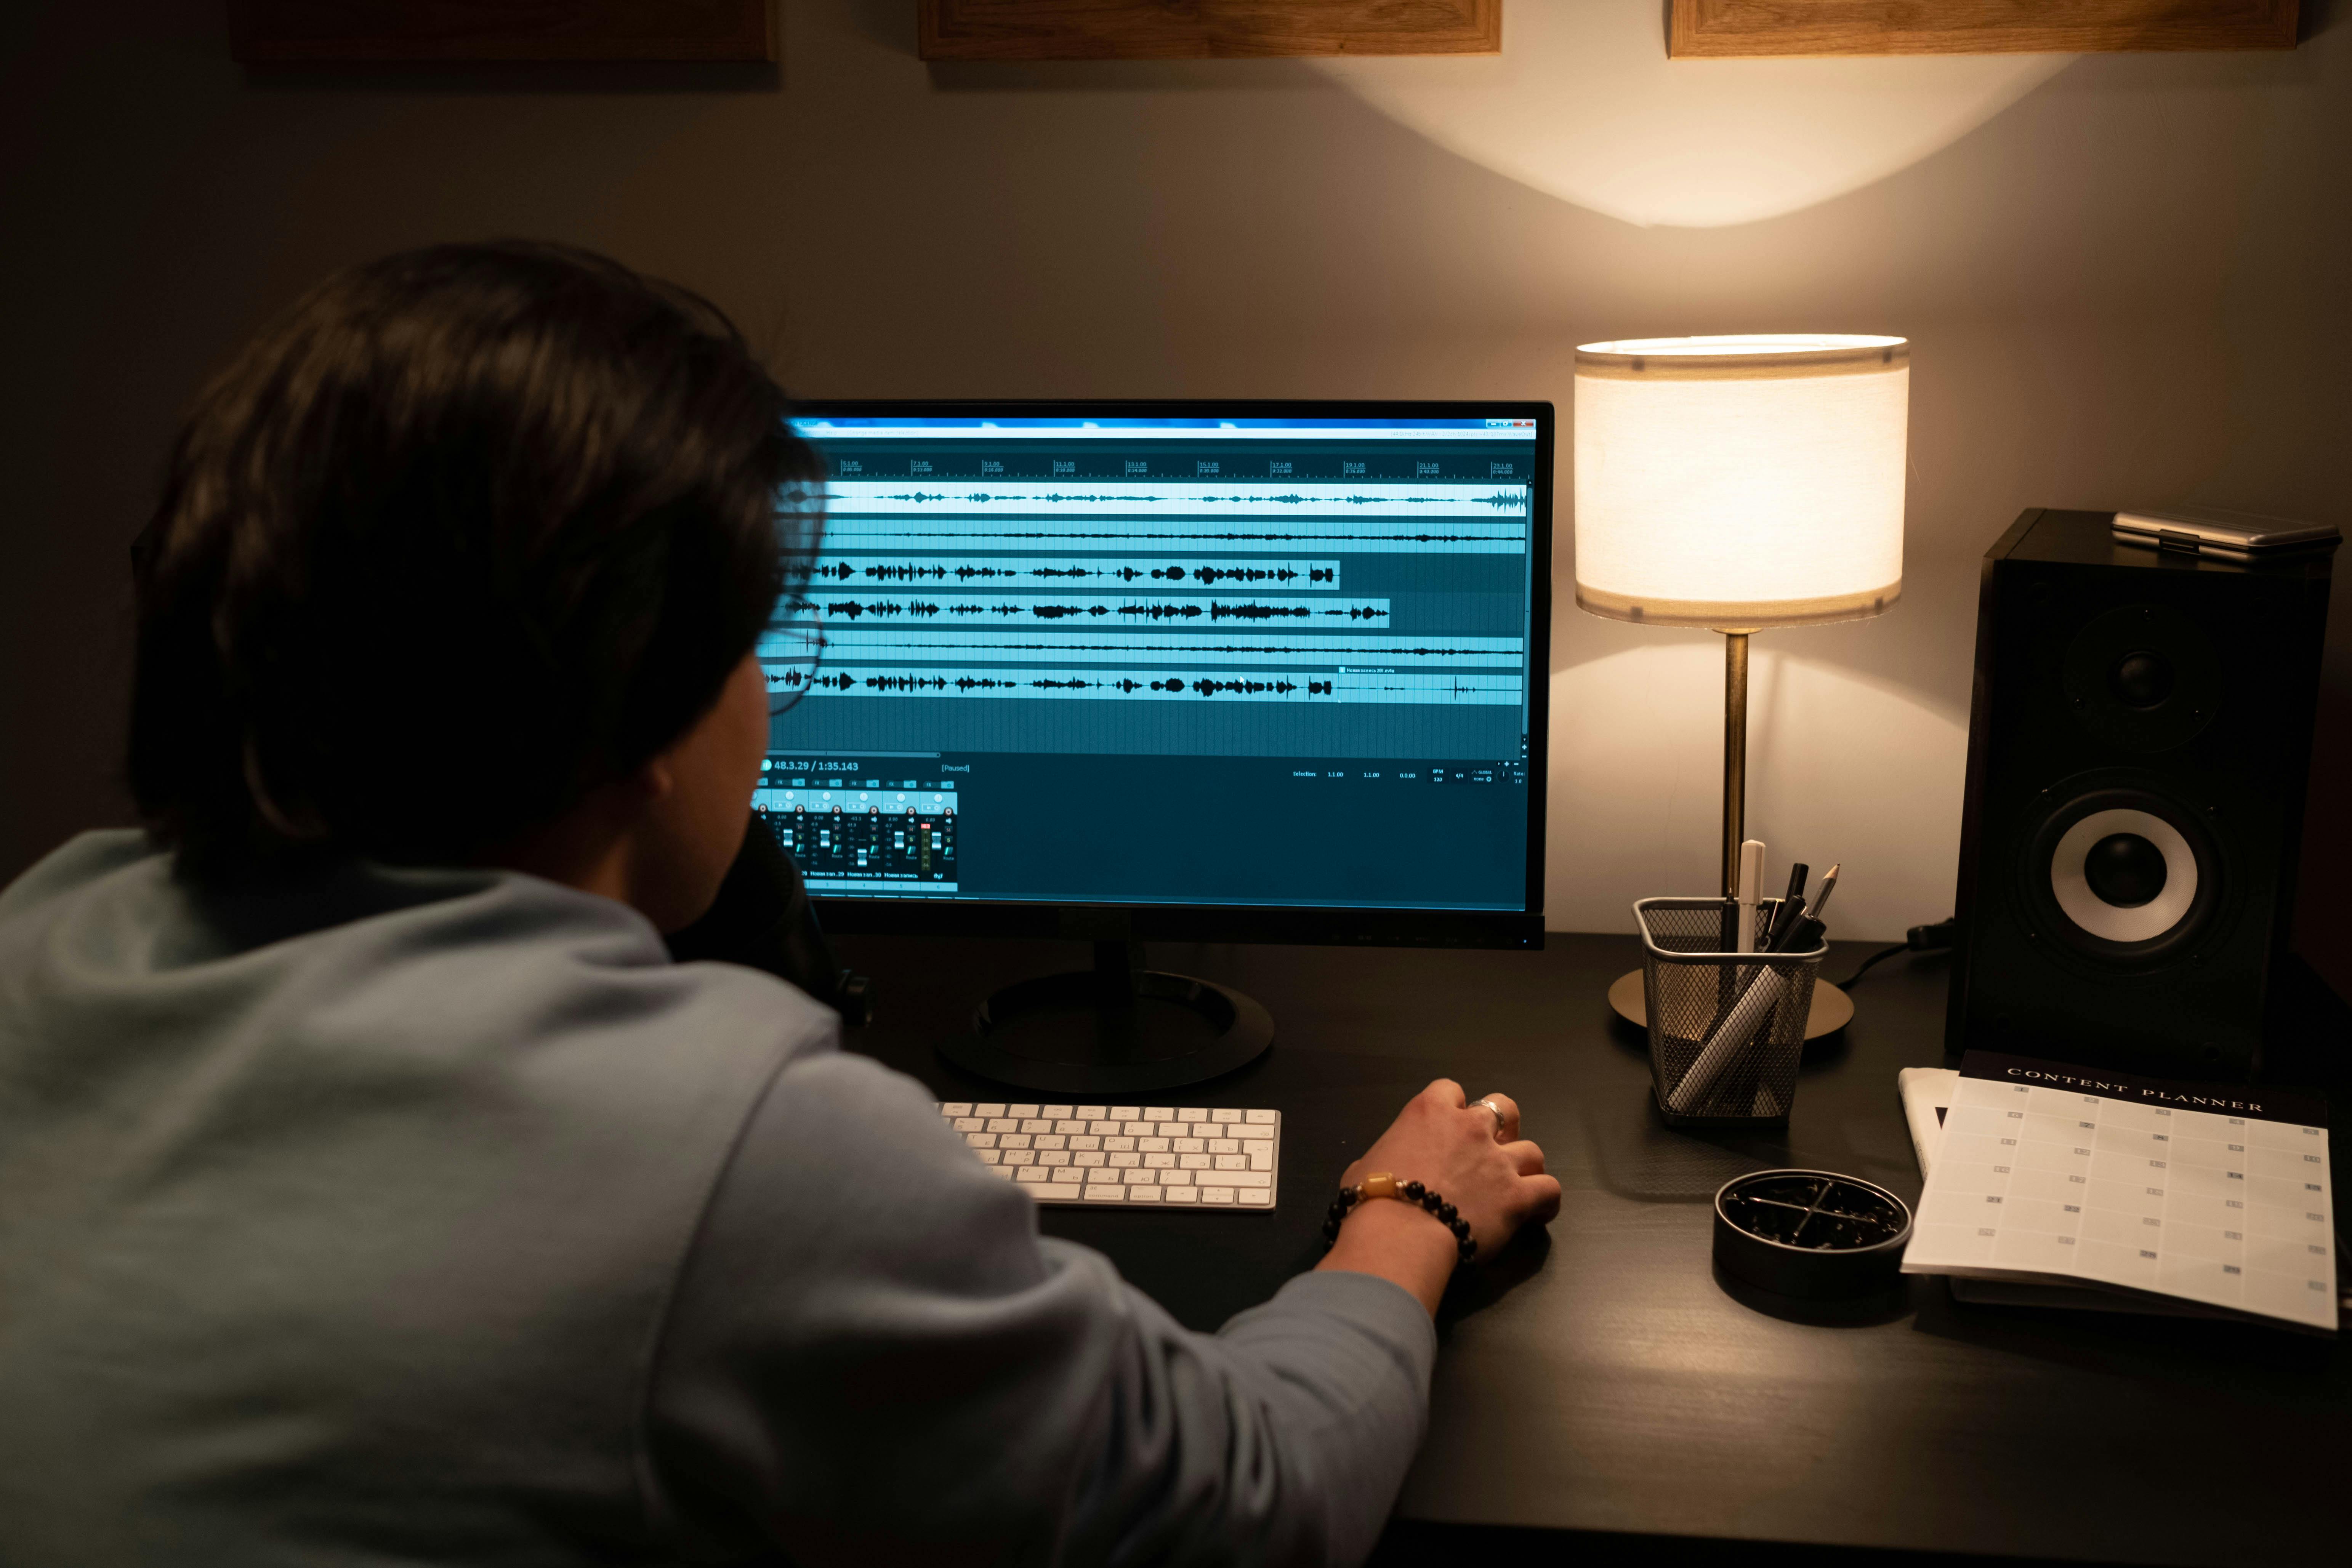
Before touching a single level, make sure your audio is organised. Dialogue, music, ambient sound and SFX should each be on their own track. This lets you solo, mute or adjust each layer independently. If SFX are on the same track as dialogue, you cannot fix one without affecting the other. This is the foundation everything else depends on.
Label tracks: Dialogue, Music, SFX, Ambient
Step 02
Set your starting SFX level
Start every SFX at -18 dB and adjust from there. This gives you room to go louder for big moments and quieter for subtle ones without having to redo the whole mix. Resist the urge to judge levels on their own: always solo the SFX alongside whatever else is playing at that moment. A sound that seems too quiet in isolation will often feel exactly right in context.
Always mix in context, never in isolation
Step 03
Duck music when a key SFX hits
When a cinematic impact or dramatic SFX lands, the music underneath can muddy the moment. Duck your music track by 3 to 6 dB for one or two seconds around the hit point, then bring it back up. In most editors you can do this with keyframes on the music track's volume. The result is both sounds can be heard clearly and the SFX lands with its full weight.
Short fade in, short fade out — keep ducking subtle
Step 04
Check headroom and export for your platform
Before exporting, check your master output meter. Your peak should not exceed -1 dBFS to avoid clipping after encoding. For YouTube aim for an integrated loudness of around -14 LUFS, and for TikTok or Instagram around -16 LUFS. If you do not have a LUFS meter, most editors have one built in, or you can use a free plugin like Youlean Loudness Meter.
YouTube: -14 LUFS / TikTok and Instagram: -16 LUFS
A proper monitoring setup, including a studio speaker, helps you catch level issues that headphones miss.
Quick reference
Target levels for every audio layer
Use these as starting points, then adjust by ear in the context of your full mix.
-6 dB
Cinematic & Impacts
Big hit moments, logo reveals and dramatic cuts where you want the sound to physically land. Use sparingly or it loses impact.
-12 dB
Standard SFX
The go-to starting point for whooshes, transitions and general sound effects. Present and clear without fighting dialogue.
-18 dB
Subtle SFX
UI sounds, camera clicks and background texture effects that should be felt more than heard. Easy to miss if you are not listening for them.
-6 to -12 dB
Dialogue
The most important element in most videos. Everything else in the mix should sit below dialogue so it remains clear and intelligible.
-18 to -24 dB
Background Music
Music is texture, not the star. When dialogue or SFX are present, music should recede into the background without disappearing entirely.
-1 dBFS
Master Peak Limit
Never let your master output exceed this. Leave at least 1 dB of headroom so encoding does not push any peaks into distortion.
Pro tips
What experienced editors do differently
Tip 01
Mix at a consistent, moderate volume
Your ears adjust to whatever volume you are listening at, which makes mixing at high or low volumes unreliable. Set your monitoring volume to a level where you can comfortably hold a conversation, then keep it there. Decisions made at a consistent moderate level translate much better to the finished video than decisions made at the volume that happens to feel right in the moment.
Tip 02
Check your mix on multiple devices
A mix that sounds balanced on studio monitors can sound harsh or thin on phone speakers, and a mix that sounds fine on headphones can feel muddy on a laptop. Before locking your export, listen back on at least two different playback sources: your editing headphones, a phone speaker or earbuds, and if possible a television. Fix anything that sounds wrong on any of them.
Tip 03
Use gain staging, not just the fader
When an SFX clip is too loud, it is tempting to pull the track fader down. But if the clip itself is peaking before it even hits the fader, you are working with distorted audio from the start. Instead, right-click the clip and adjust the clip gain first, so the audio entering the track is at a healthy level. Then use the fader to fit it into the overall mix. This keeps everything clean through the entire signal chain.
FAQ
Common questions
Most SFX sit between -12 dB and -18 dB so they support the edit without competing with dialogue or music. Impact sounds can go as high as -6 dB for dramatic moments. Subtle transition and UI sounds often work best at -20 dB or lower. Always check levels in context rather than in isolation.
Keep your master output peak below -1 dBFS to leave headroom for streaming platform encoding. If a single SFX is clipping, reduce its clip gain before the fader rather than pulling the fader down. Avoid boosting SFX with EQ or effects until the base level is clean and under control.
Generally yes, SFX sit above background music but below dialogue. A common starting hierarchy: dialogue at -6 to -12 dB, SFX at -12 to -18 dB, music at -18 to -24 dB. This creates a natural priority where dialogue is clearest, SFX are present and punchy, and music fills the background without competing.
Ducking means briefly lowering one audio element when another needs to come through clearly. For SFX, this typically means dropping your music by 3 to 6 dB around a key impact or hit point so both can be heard without competing. It works well for cinematic moments. For subtle SFX like UI sounds or camera clicks, ducking is usually not needed.
Platforms like YouTube, TikTok and Instagram apply loudness normalization on upload, which can lower the overall volume of your video. If your export is already quiet, normalization makes it quieter. Aim for an integrated loudness of -14 LUFS for YouTube or -16 LUFS for most other platforms. Set your SFX levels relative to this target rather than just by ear in your editor.
Get the sounds to practice with. 100 free. No signup.
Download the pack and apply these mixing techniques straight away.